TAPE MEASURE · ONE INCH
Read the marks between 0 and 1 inch
Each small step is 1/16 inch. Longer marks show common fractions.
Example: 6/16″ simplifies to 3/8″. Count six small marks from zero.
Learn the math carpenters use, then put it to work in small projects.
Open a tool, study an example, then apply the skill.
Your skill grows each time you measure, check, and try again.
Layout marks are only useful when you know what each mark measures from. Keep your starting point clear.
Prototype helpers route students to visual tools and checklists. They do not yet connect to a live AI model; instructor review remains part of every hands-on task.
Use the ruler and worked examples to check common carpentry measurements.
Each small step is 1/16 inch. Longer marks show common fractions.
1 ft = 12 in · 2 ft 7 in = (2 × 12) + 7 = 31 in
Regroup 12 inches as 1 foot.
A 10′ × 12′ floor = 120 sq ft. With 10% extra: 120 × 1.10 = 132 sq ft.
20 ft × 12 = 240 in. 240 ÷ 16 = 15 spaces; add one end stud = 16 studs for a basic straight wall before corners and openings.
4″ rise ÷ 12″ run = 4:12 pitch. This describes slope; it does not size framing.
Each build develops planning, measuring, layout, and careful assembly skills.
Open the birdhouse or 8 × 10 shed project, then switch views to study coordinated floor, wall, roof, opening, and material schedules. The drawings use dimensions, framing symbols, and a blueprint grid.
Quick calculators, measurement references, and visual helpers for the classroom.
Privacy policy and app data · App support

Use the examples to plan classroom tasks. Confirm real work with your instructor and the project plans.
Enter length and width in feet. Add a waste allowance for a rough material estimate.
Pitch is rise over a 12-inch horizontal run. Use this to understand slope, not to size structural members.
Enable your phone’s motion sensor and use the illustrated bubble as a guide. Sensor readings are an estimate; confirm the surface with a physical level.
Use a room photo to record visible clues and plan a careful follow-up inspection.
Show a possible regular stud layout behind a wall surface. Set wall width, spacing, and the first stud center.
Build a cut list for a classroom project. Enter finished piece dimensions in inches; the tally estimates board feet and total linear feet.
Board-foot tally = thickness × width × length ÷ 144 × quantity. It is a planning estimate; account separately for kerf, defects, stock sizes, and waste.
Convert a common sixteenth-inch fraction to a decimal or add and subtract two measurements.
Results round to the nearest 1/16″. Always verify layout marks with the tape measure and plan.
Learn what common tools do, the basic setup, and the safety check before supervised practice.
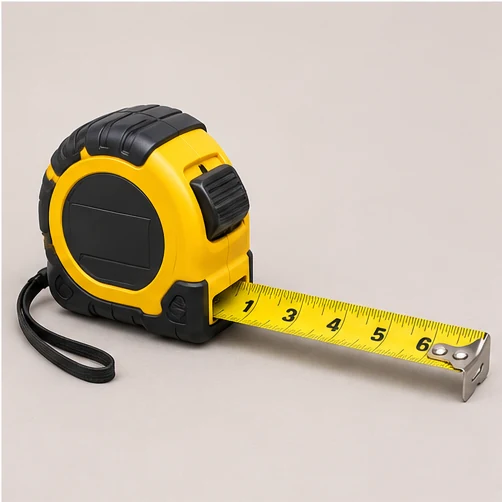
Use: Measure stock, openings, and layout distances.
Use it: Hook the end, pull the blade straight, read the largest whole inch first, then the fraction. Write the unit beside the number.
Check: Keep fingers clear of a fast-retracting blade; retract it under control.

Use: Mark square cuts and transfer layout lines.
Use it: Seat the heel firmly on the board edge, hold it steady, and mark along the blade or tongue as needed.
Check: Confirm the edge is clean and the square is not bent before trusting a mark.
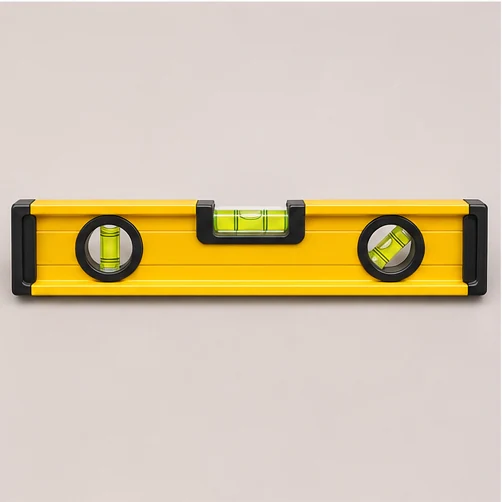
Use: Check a surface level (horizontal) or plumb (vertical).
Use it: Clean the base, place the level firmly on the surface, and let the bubble settle between the vial marks. Turn it end-for-end to check consistency; use the vertical vial to check plumb.
Check: Protect the vial. For the phone tool, select horizontal or vertical mode and move slowly; confirm real work with a physical level.

Use: Drive approved nails and adjust small assemblies.
Use it: Secure the work, start the fastener with controlled taps, then strike squarely.
Check: Inspect the handle and head. Wear eye protection and keep hands out of the strike path.

Use: Make approved straight cuts in supported stock.
Use it: Only after training and authorization. Set depth as directed, support both sides as required, and let the saw reach speed before cutting.
Check: Inspect guard, blade, cord or battery, and work area. Keep both hands positioned as trained and wait for the blade to stop.

Use: Drill pilot holes and install specified screws.
Use it: Match the bit to the fastener, secure the work, and start at low speed with the driver square.
Check: Remove the battery before changing accessories. Keep loose clothing, hair, and jewelry clear of rotation.
Select PPE for the task hazards and your instructor’s site plan. PPE works alongside guarding, dust controls, safe work practices, and training.
Wear safety glasses with side protection where flying particles can reach the eyes. Add a face shield when the task assessment calls for it; a face shield does not replace safety glasses.
Use correctly fitted earplugs or earmuffs when required by the noise assessment or site rules, especially around saws and other loud equipment.
Control dust at its source with suitable collection or wet methods. Use a respirator only when the exposure plan requires it, with proper selection, fit, and training.
Wear a hard hat or protective helmet where overhead, impact, or electrical hazards exist. Use the required fall protection for elevated work and follow the site plan.
Choose sturdy, slip-resistant work boots; use safety-toe protection where falling or rolling objects create a toe hazard.
Choose gloves for material handling, concrete, or chemicals when appropriate. Remove gloves near rotating woodworking machinery if they could catch; follow the machine and task rules.
A quick visual reminder of common carpentry PPE. Your instructor and task hazard review determine what is required.
This is the green full-body harness style you selected. Use the photo and component guide to identify the parts before reviewing the site-specific fall-protection plan.

Review these points with your instructor before starting a project.
Explore a real-world example, identify the parts, and follow the work sequence. Check the plans with your instructor before building.
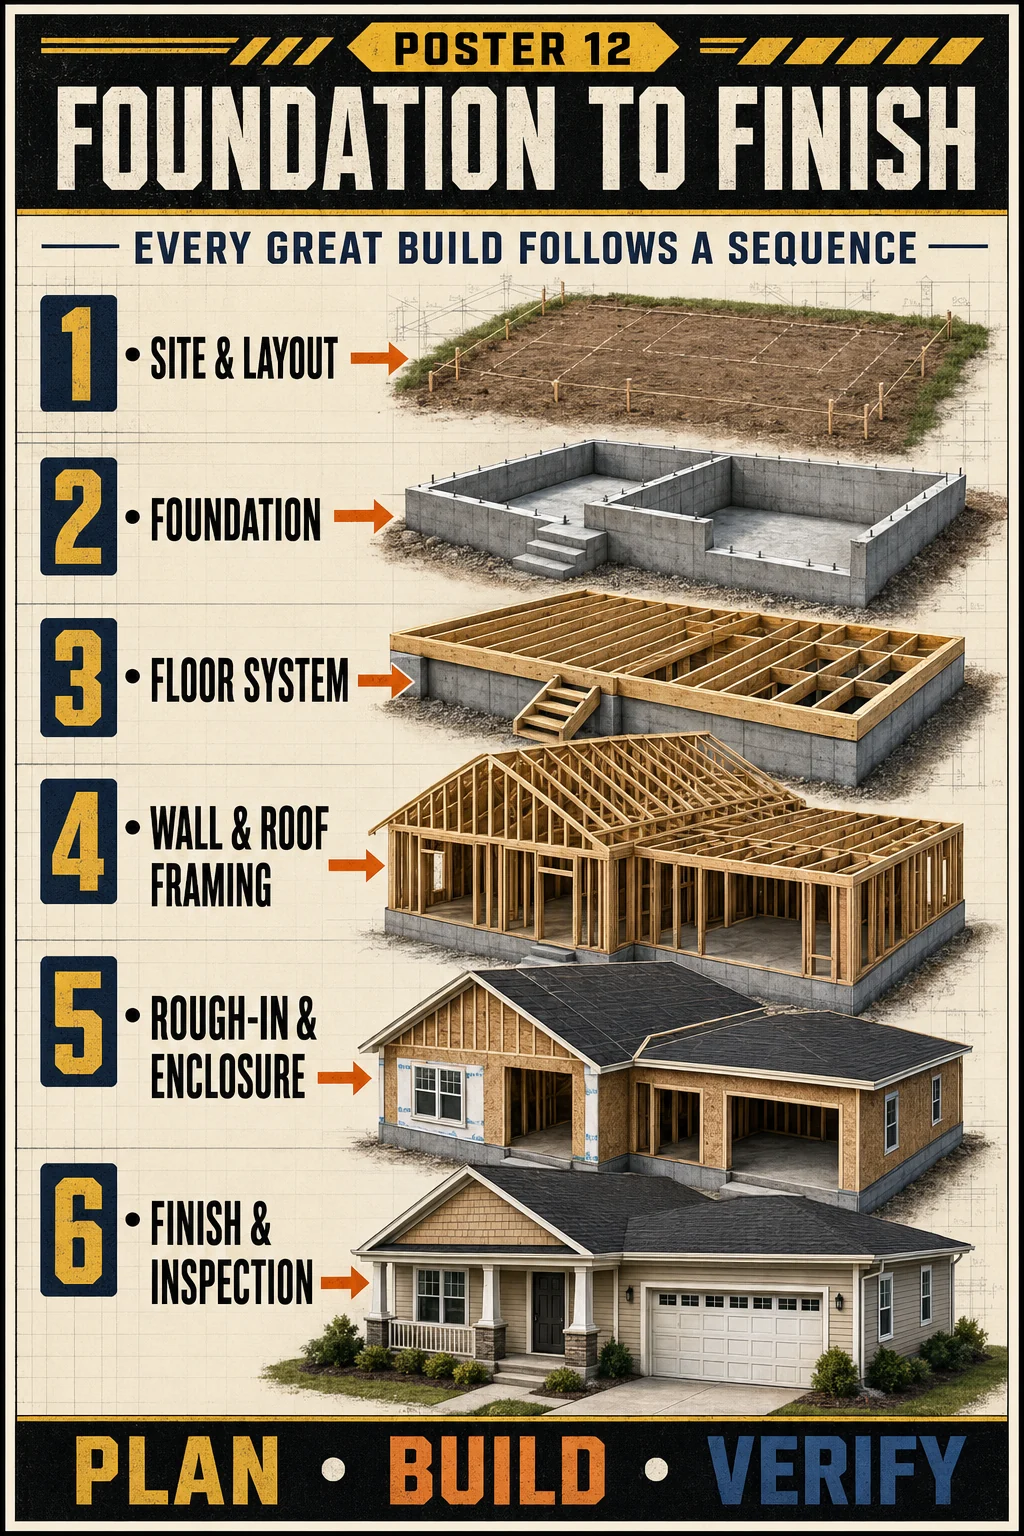
Connect drawing symbols, dimensions, and site layout before work begins.
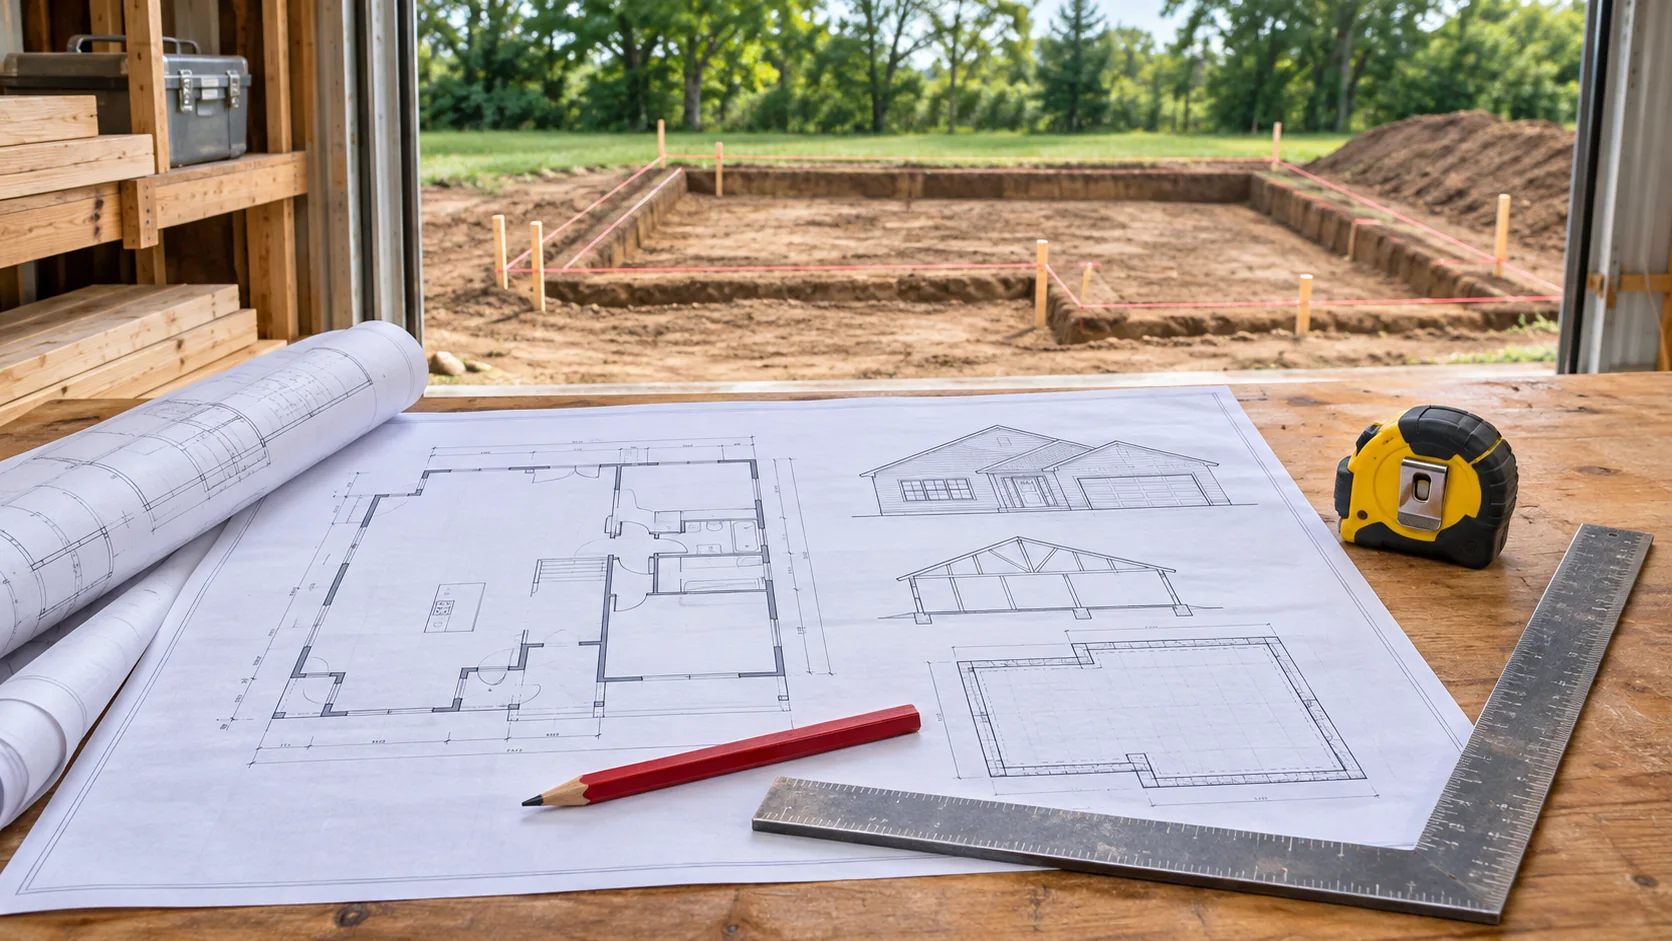
Use current approved plans and instructions. A classroom sketch is not a construction document.
Conceptual plan view: two foundation walls meet at a right angle.
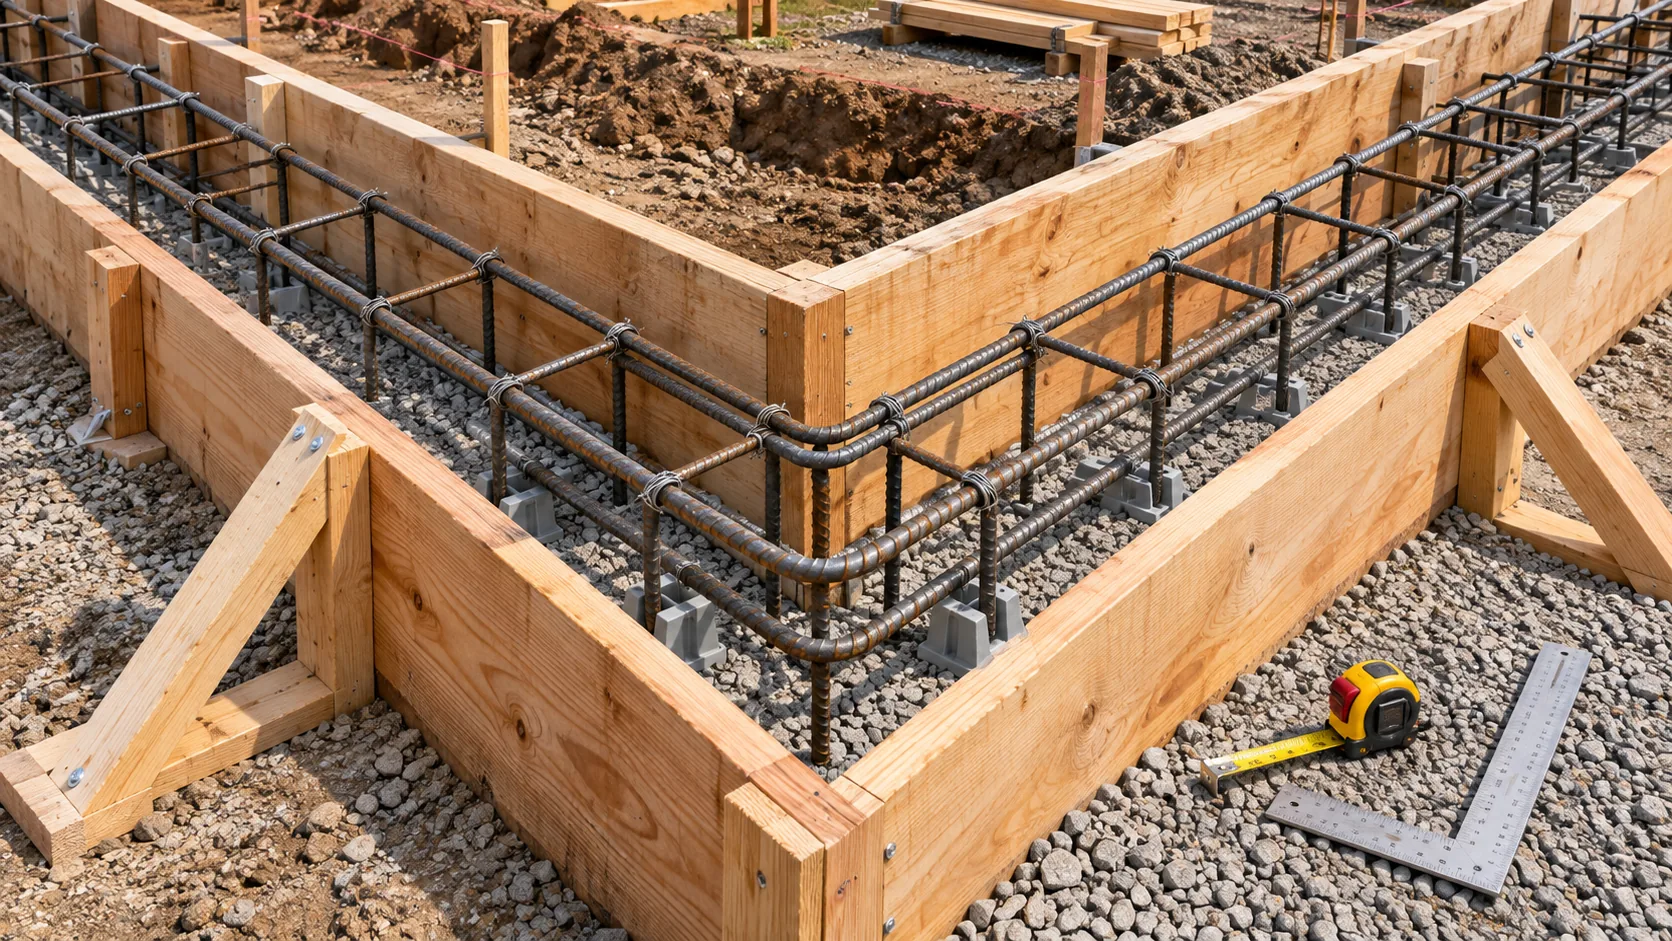
Rebar size, spacing, laps, footing dimensions, concrete strength, and inspection steps come from the approved plans and local code.
A basic 20 ft wall at 16 in. on center.
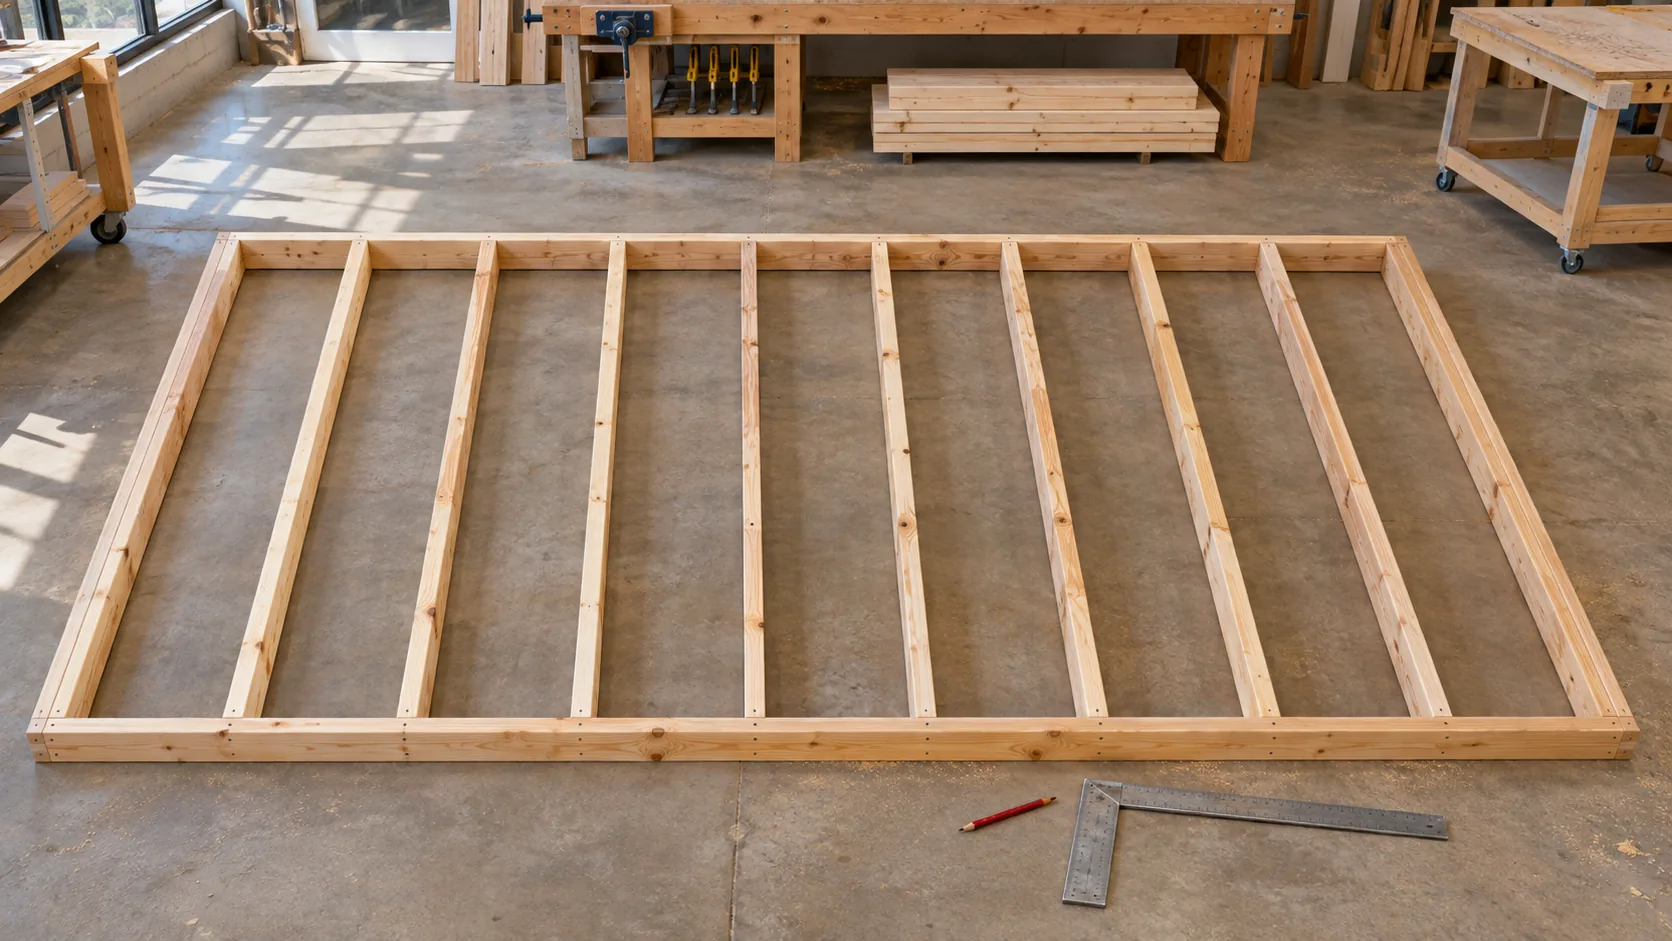
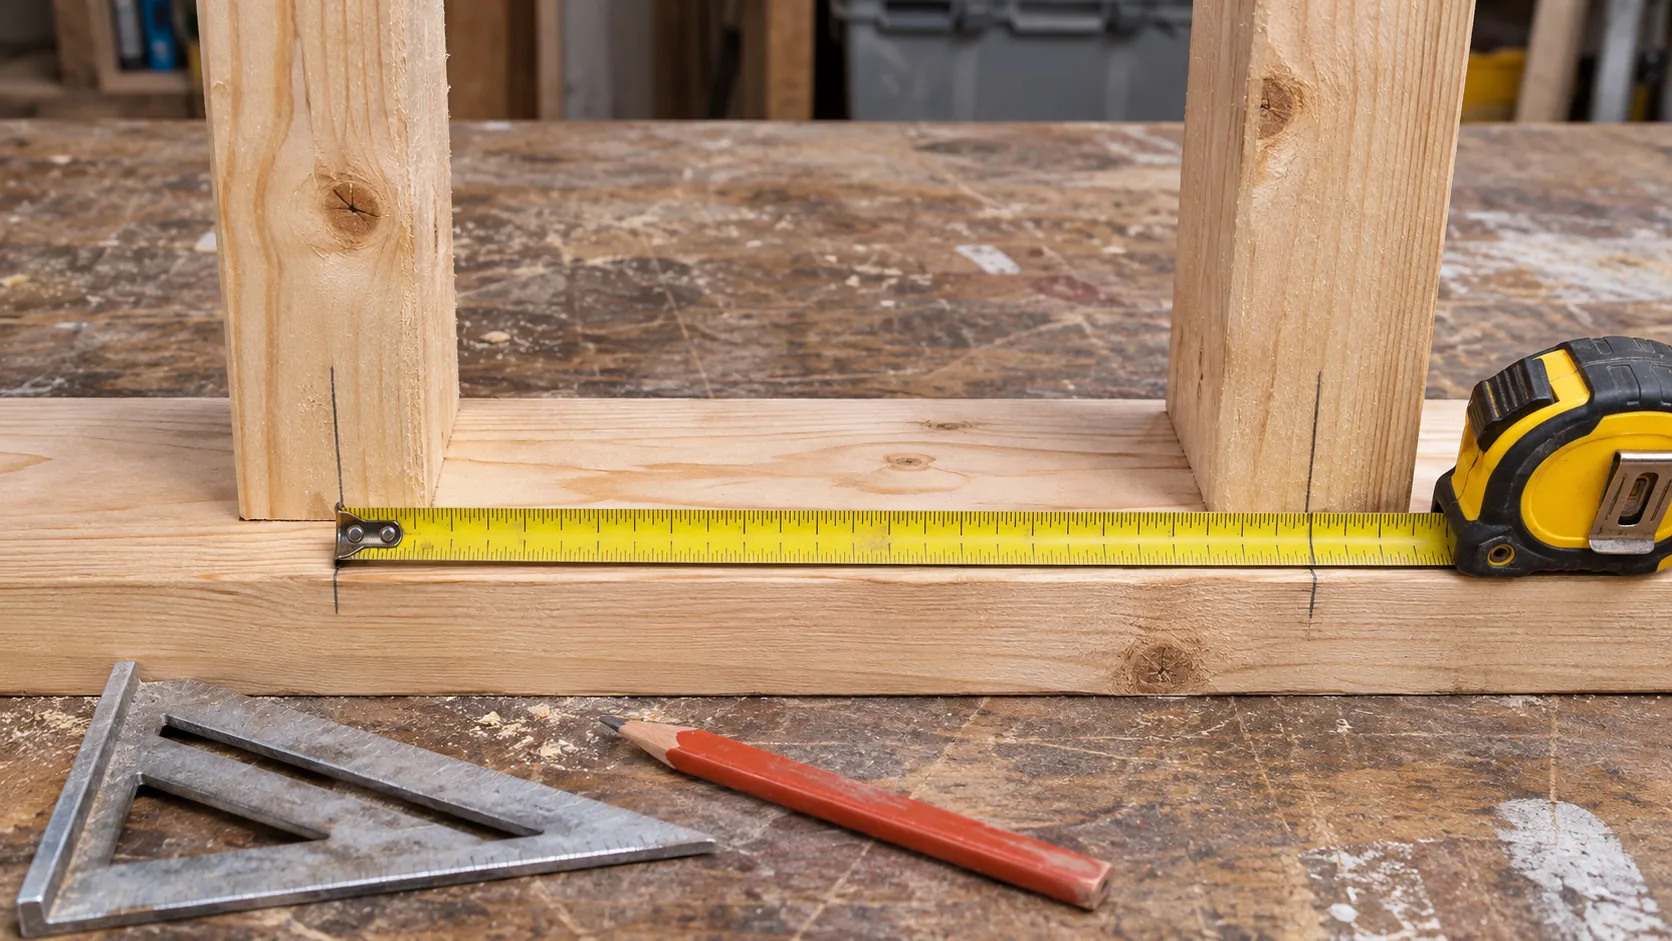
Math check: 24 ft wall → 288 ÷ 16 = 18 spaces → 19 studs for a simple end-to-end layout. 24 in. O.C. → 12 spaces → 13 studs.
Identify plates, corner studs, wall intersections, and backing before sheathing.
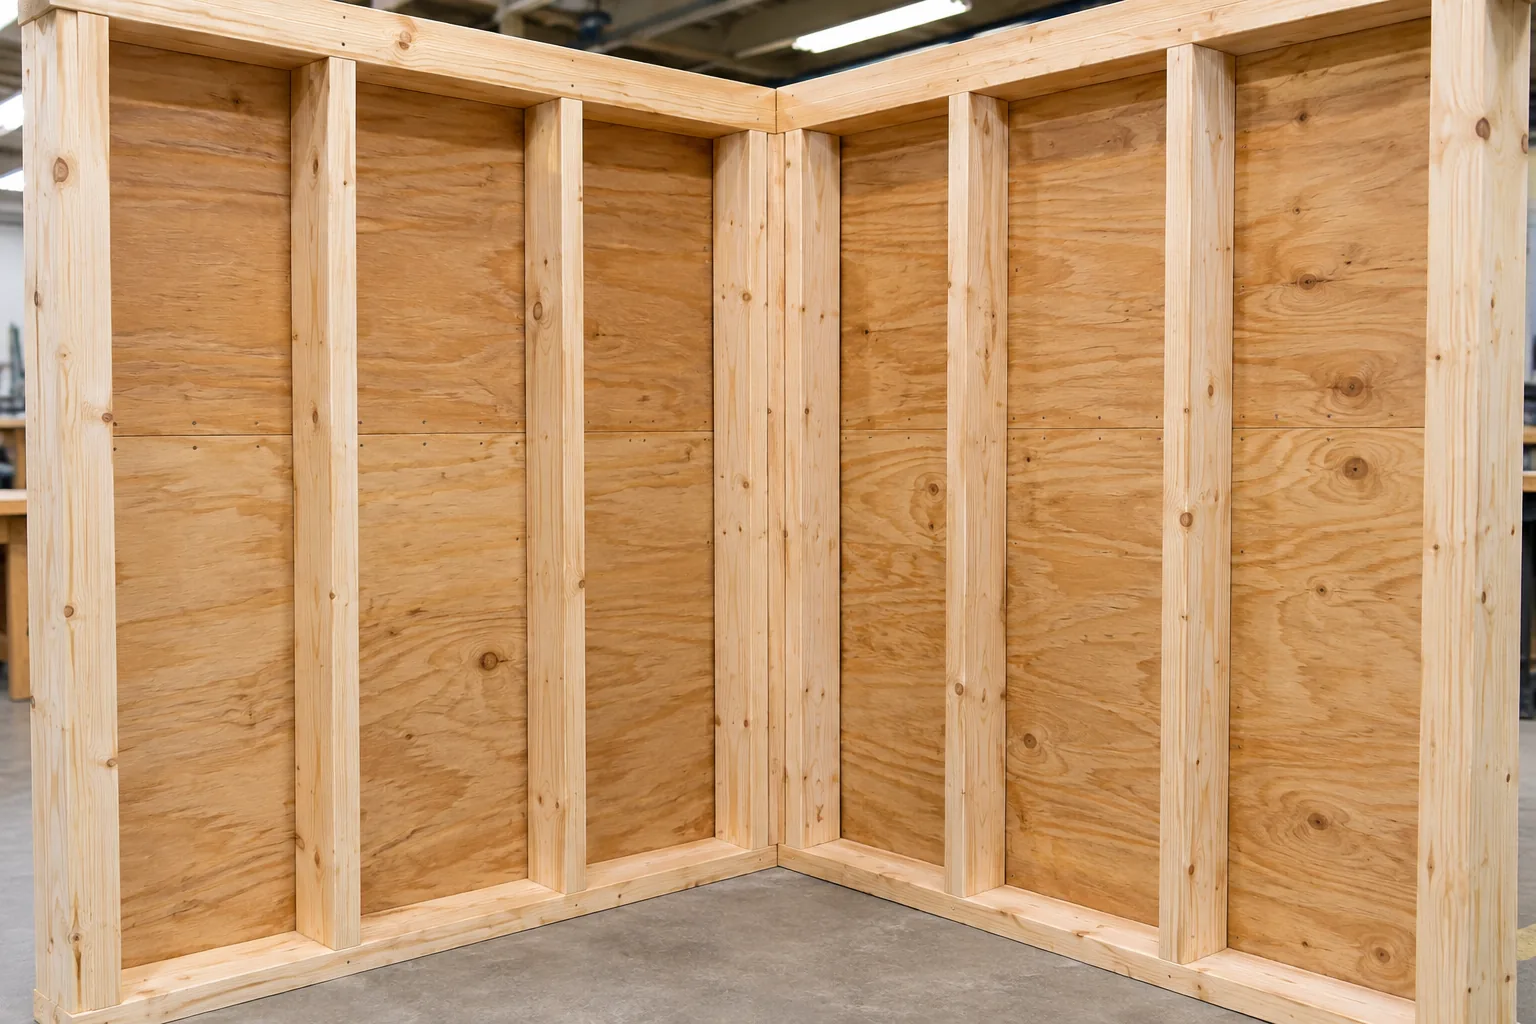
Corner configurations vary by wall assembly and finish requirements. Follow the project details.
Set the jamb plumb and square before fastening the assembly.
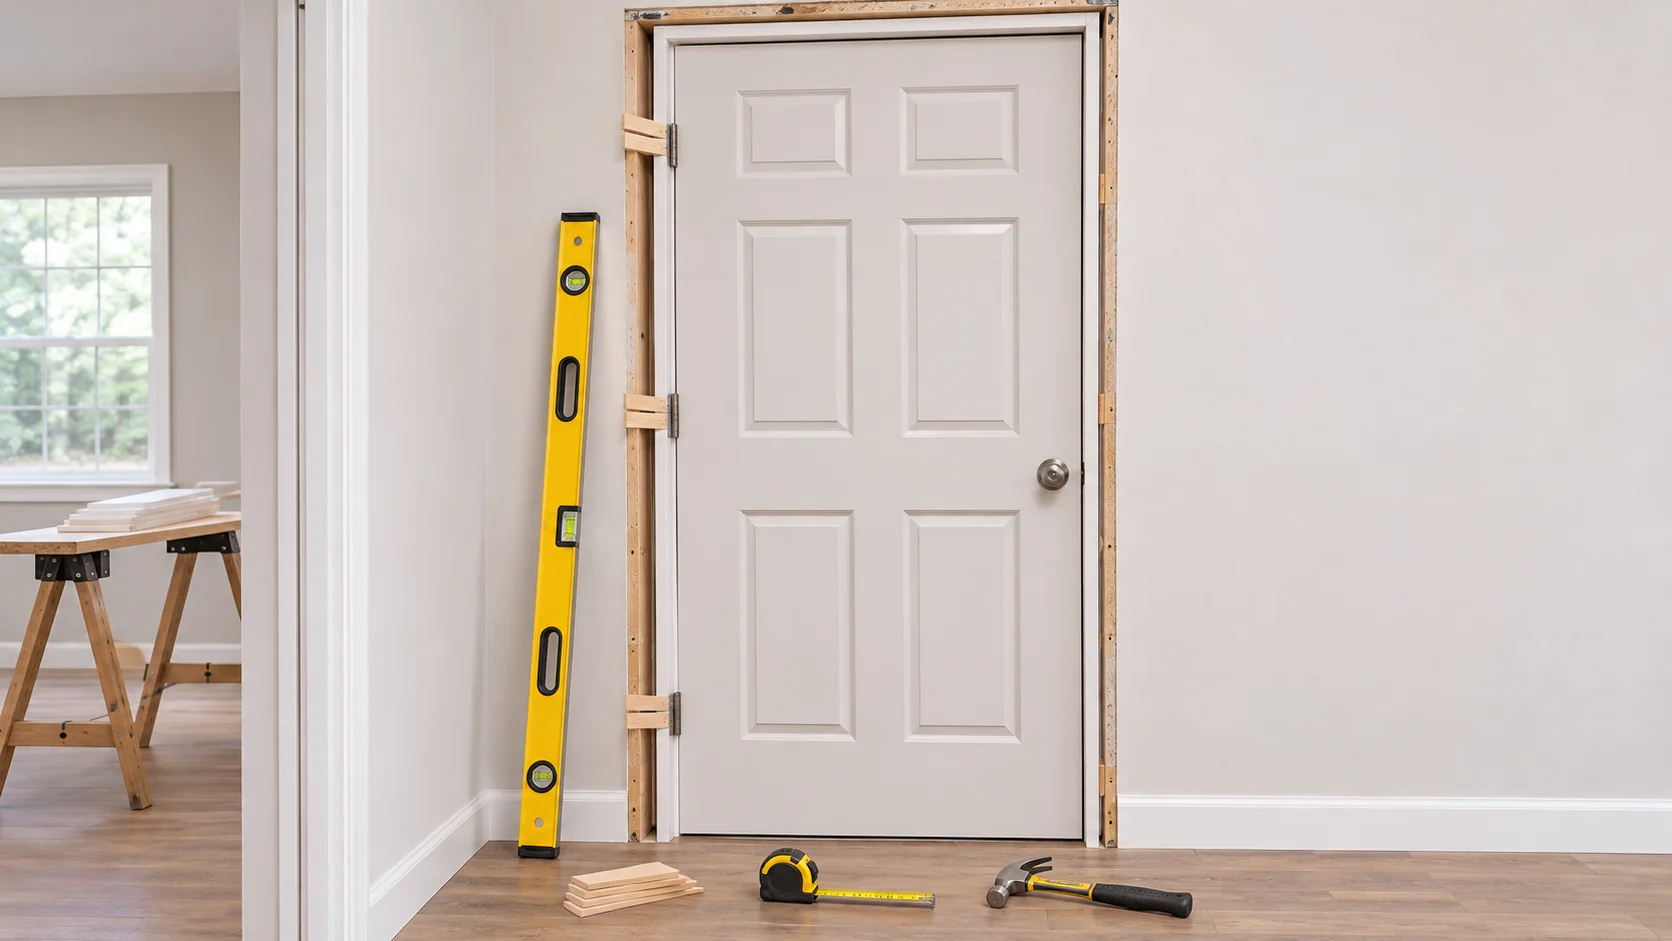
Opening changes, fire-rated doors, exterior water management, fasteners, and clearances must follow approved plans, product instructions, and local requirements.
Know the opening parts, then follow the window maker’s instructions.
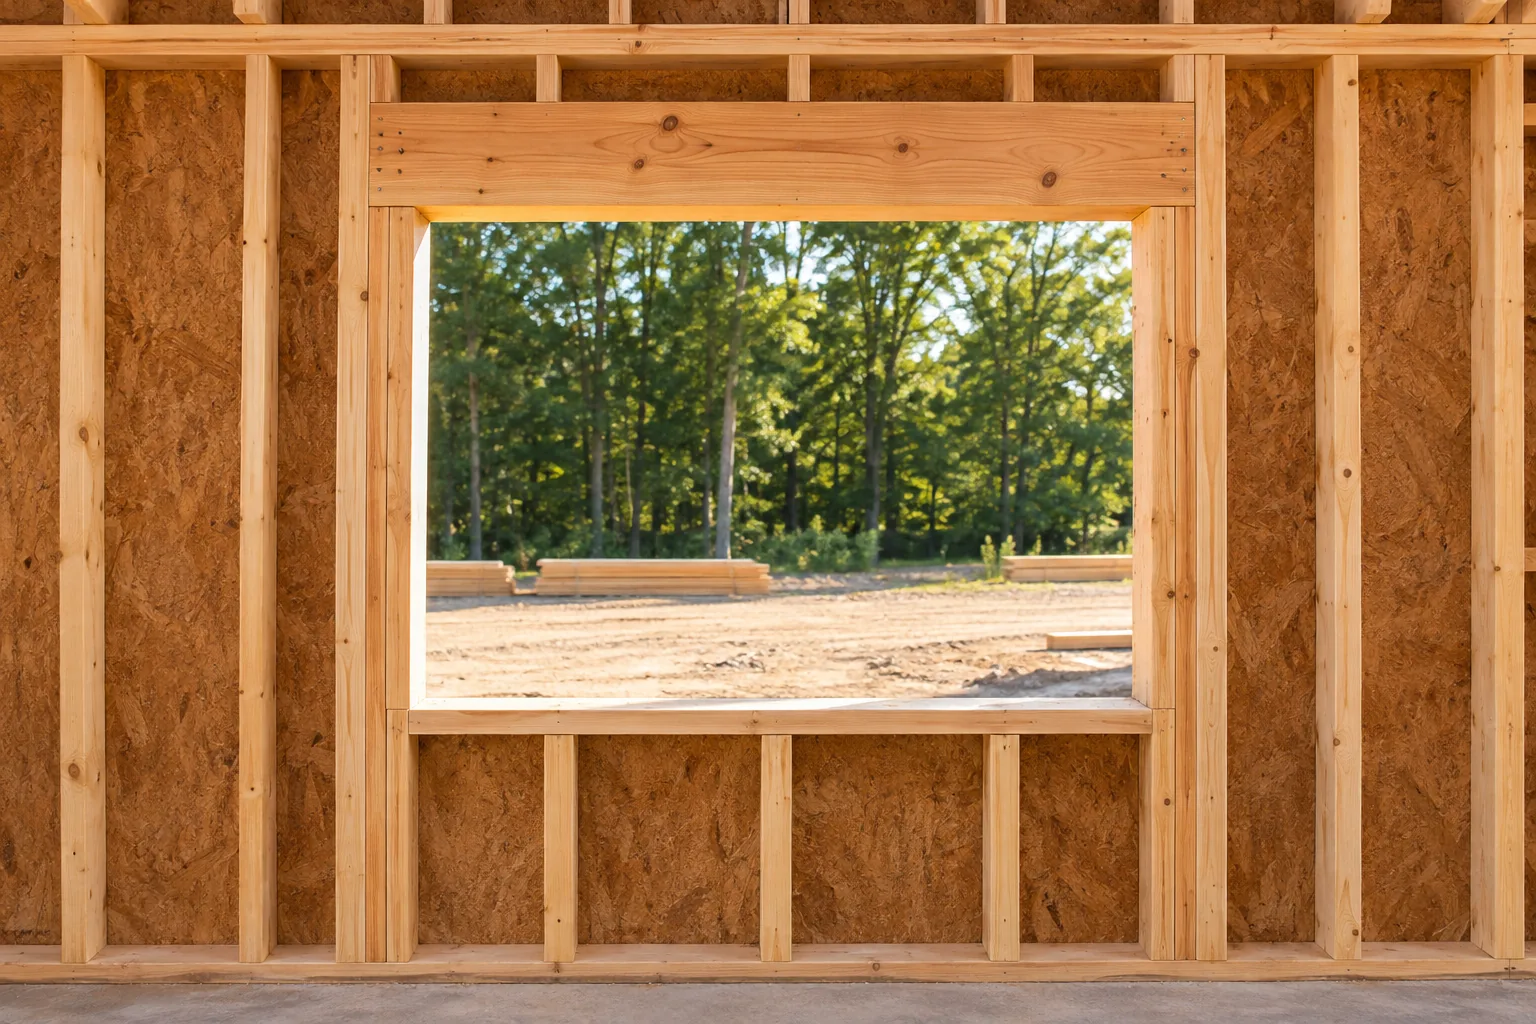
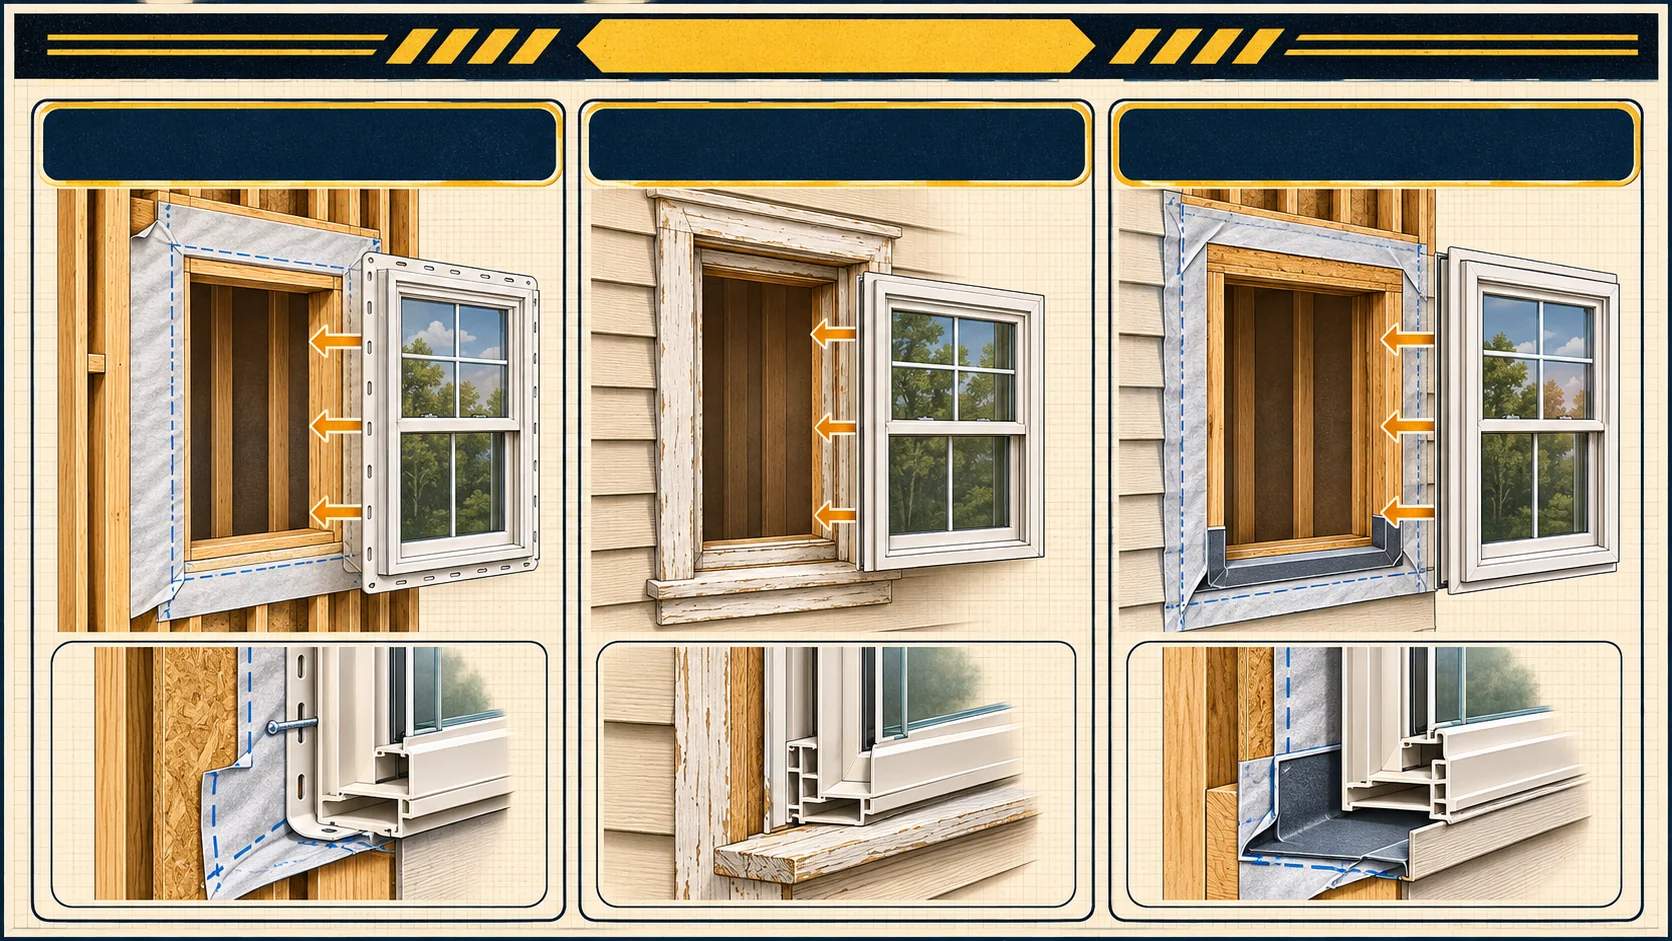
Use when: The wall is open or the rough opening is new.
Sequence: Prepare the opening and sill pan; set and fasten the unit per its instructions; integrate sill, jamb, and head flashing with the water-resistive barrier so laps shed outward; check square, operation, and seal.
Use when: The existing frame is sound and the new unit fits inside it.
Sequence: Remove sash and hardware; inspect the retained frame for rot, leaks, and square; set the insert, shim, and fasten as specified; insulate and seal the interior perimeter without blocking drainage paths.
Use when: The existing frame is damaged, leaking, or being replaced down to the rough opening.
Sequence: Remove sash and old frame; repair the opening and water barrier; install sill flashing; set, shim, and fasten the new unit; integrate jamb and head flashing, then insulate and finish.
Do not enlarge or alter a structural opening without an approved design and authorization. Follow the window maker, approved plans, flashing details, and local code; methods and flashing sequences vary by product.
Recognize the starter, stagger, eave edge, and ridge sequence.
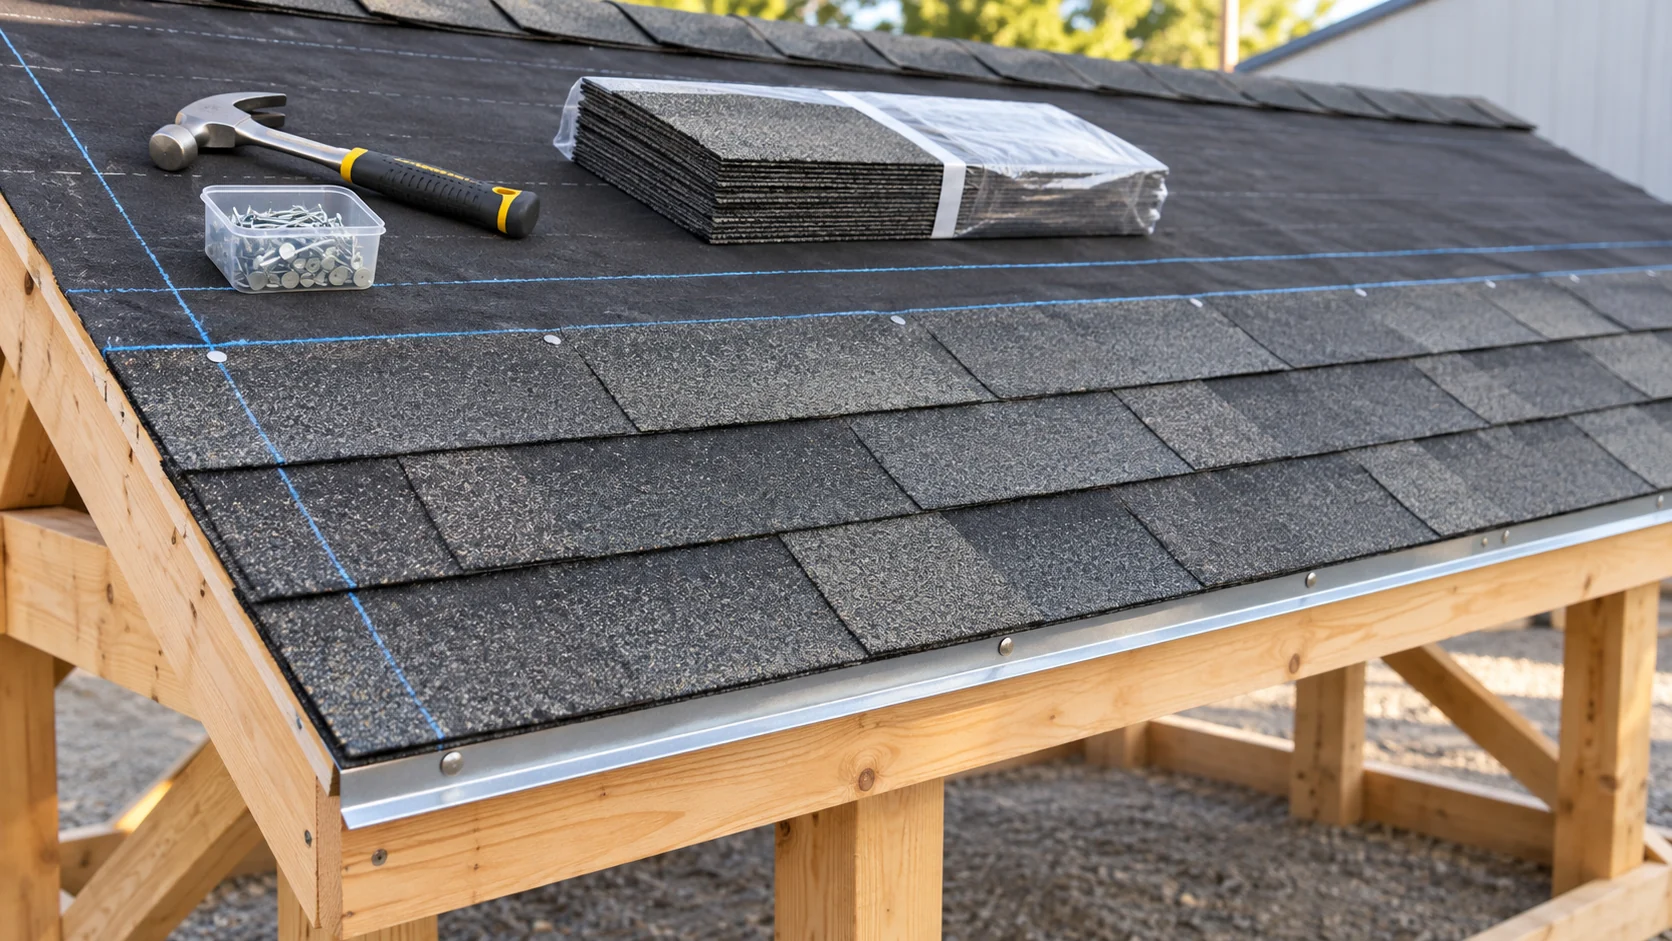
Roof work requires fall protection and site-specific training. Follow the roofing product instructions, approved plans, and instructor direction.
Follow a level starter and maintain the wall assembly’s clearances.
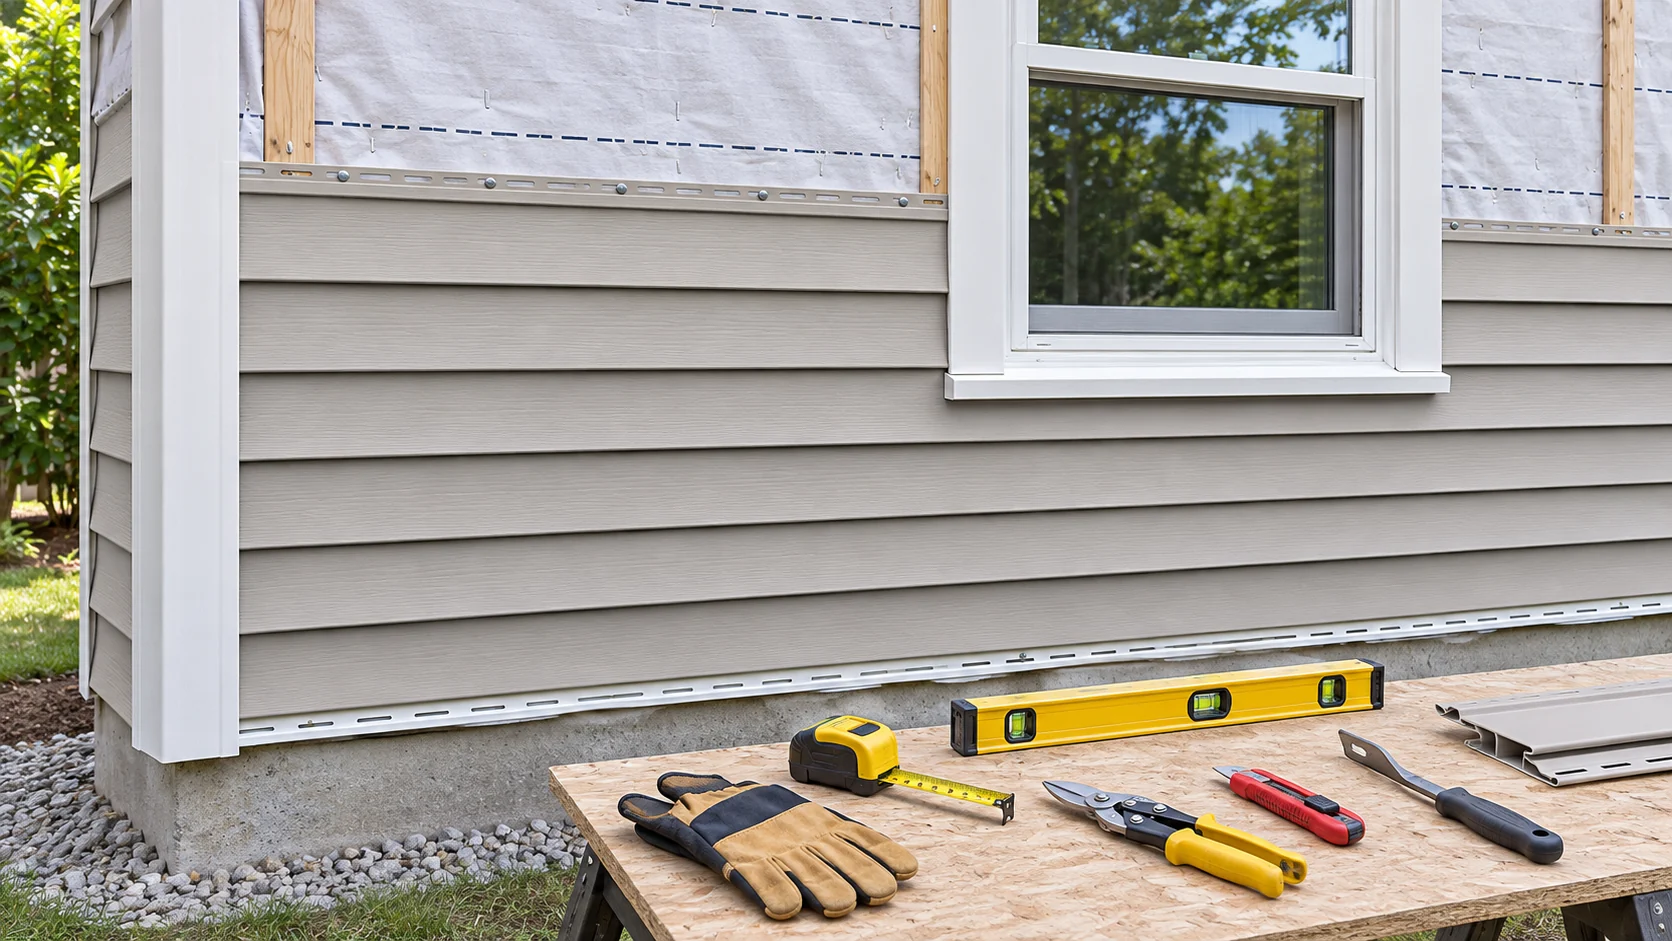
Siding details vary by product and wall assembly. Use the manufacturer’s instructions and approved project details.
Protect sound wood trim with a fitted metal cover.
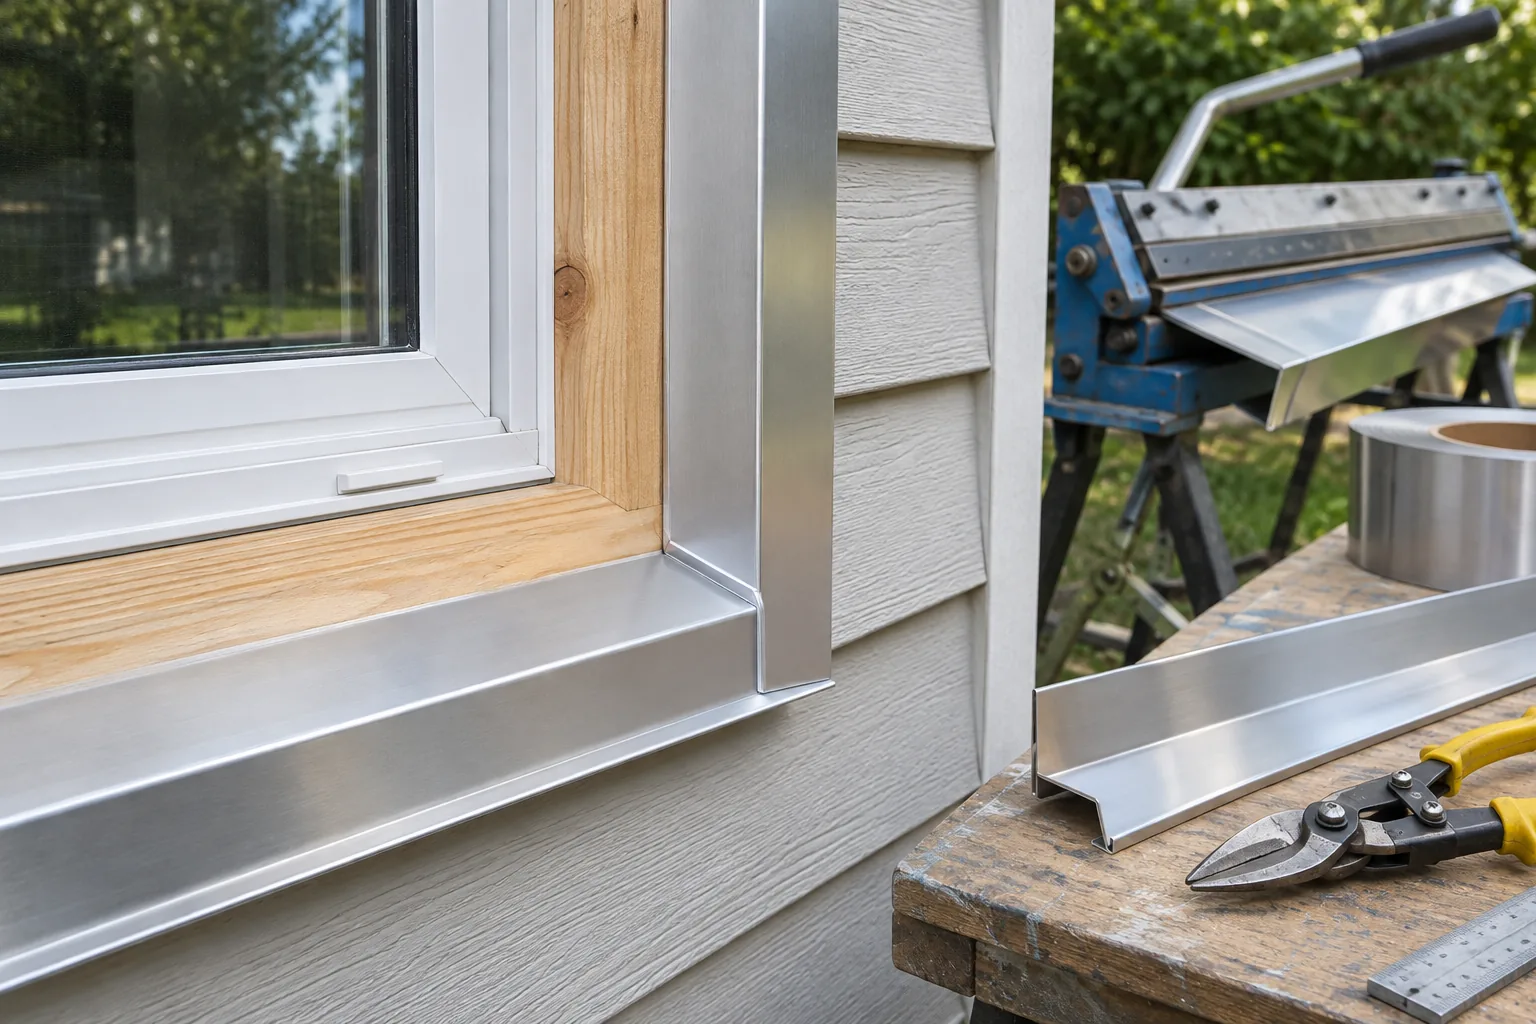
Use eye and cut-resistant hand protection. Follow coil, brake, and fastening instructions; sharp metal edges can cause serious cuts.
Example sequence for a floating plank floor; product methods vary.
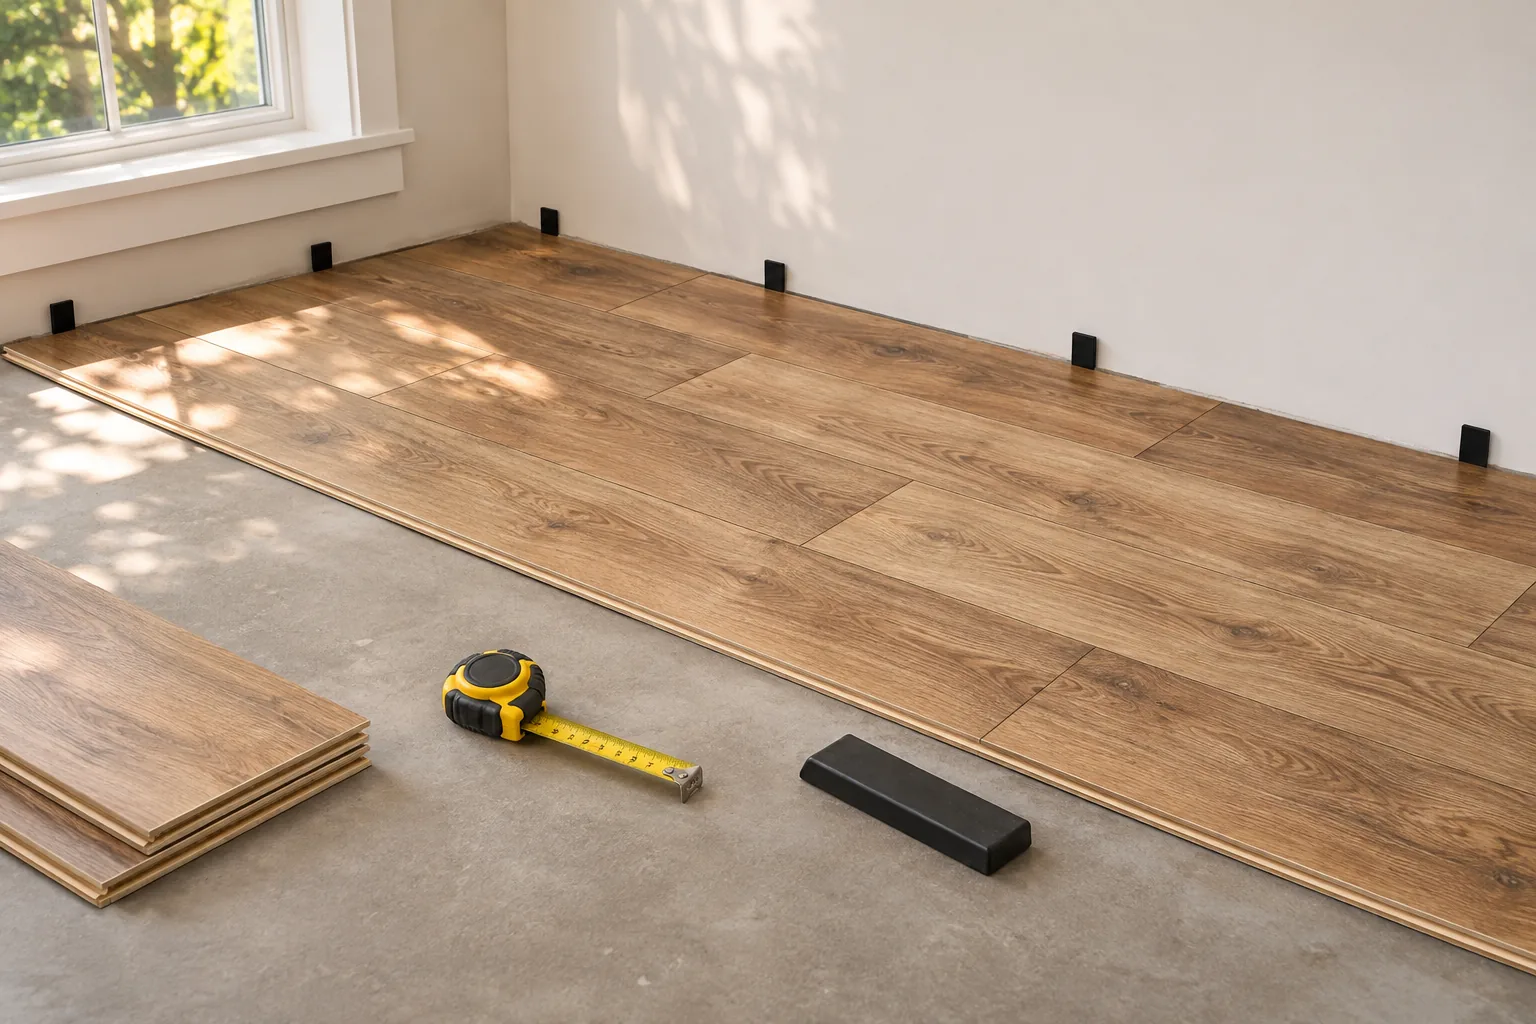
This is a learning sequence, not a product specification. Follow the flooring manufacturer and instructor for exact gaps, moisture limits, and fastening.